Loading...
3D-Scan für 3D-Druck eines Bauteils
How scan technology works for additive manufacturing

When is a 3D scan for 3D printed parts worthwhile?

3D printing is perfect for reproducing spare parts in small quantities. When CAD data is not available, parts can be prepared for 3D printing with a 3D scan. In this blog you will learn how the scanning processes work and what conditions are required. It will show in which cases scanning is worthwhile or where reverse engineering is preferable.

    For a physical object from the real world to become a functional model or prototype in 3D printing, it needs a "working instruction" in the form of a 3D digital file. This data must describe the shape and appearance for an object to become a 3D model. While the required dimensions for simple geometric shapes can simply be taken using calipers and further processed in a software environment, the situation is different for complex free-form or organic bodies.

    In these cases, 3D scanners take on the task of producing 3D data from real objects. In this blog, we will show the advantages of 3D scanning for 3D printing, in which cases 3D scanners are more efficient than reverse engineering and how exactly the process from the first scan to the finished printed component actually works.

    What kind of 3D scans are available for 3D printing?

    Different approaches exist for scanning objects to be 3D printed. Common methods used in the professional field include 3D laser scanning, photogrammetry and structured light scanning.

    3D Laser Scanning - Ideal for Complex Geometries

    3D-Laser Scan

    Laser scanning of objects is the most widely used technique to obtain a digital image of a real object. In 3D laser scanning, a laser point is projected onto the object, mostly supported by optical tracking systems. The laser beam is directed along a line, while a measuring sensor measures the distance between the surface of the object and the measuring head point by point. This results in countless individual points, which are subsequently combined by software to form a point cloud. This method is ideally suited for complex geometries, but is comparatively time-consuming due to extensive reworking and therefore rather expensive.

    Photogrammetry - 3D printing models from photos

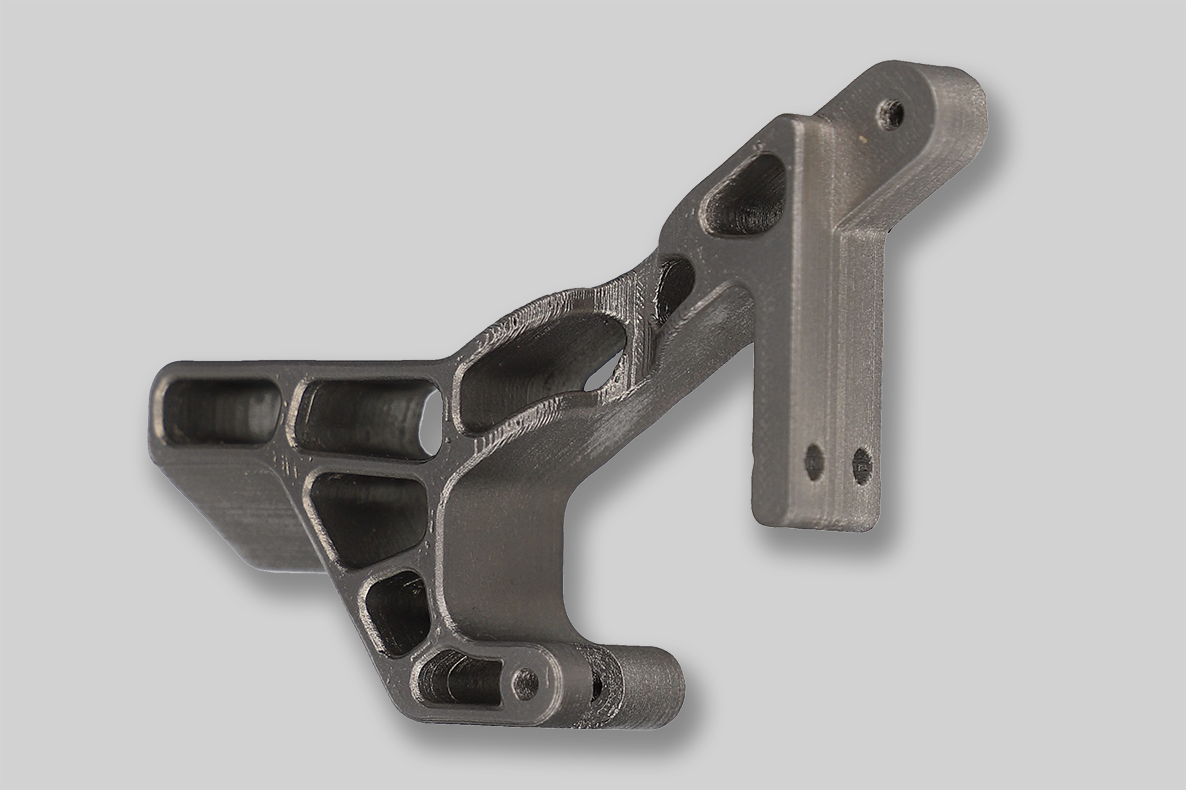
    Jellypipe Metall 3D-Druck Bauteil Ultrafuse 17-4 PH

    In photogrammetry, the object in question is photographed from different positions. Through the different viewing angles, all necessary information about the geometry is collected. With the help of algorithms, the photos are then processed to create a 3D model. The method is not as precise as laser scanning, but good results can be achieved depending on the software used.

    Structured Light Scanning - Using Coded Patterns to Create 3D Printed Models

    3D-Scan Raster

    In Structured Light Scanning, a precisely defined sequence of coded patterns of light is projected onto an object. The light patterns, which are distorted by the geometry of the object, are recorded by a camera set up at an offset angle, forwarded to software and processed there to create the 3D model.

    How accurate are 3D scans - and what is possible or impossible?

    The accuracy of 3D scans - just like the resolution - is directly dependent on the equipment used and the requirements placed on the scan (and thus the subsequent 3D model). In the professional industrial sector, accuracies in the µm range are standard. Technically feasible are resolutions down to 0.001 mm - but not useful for every project. In the vast majority of cases, less high resolutions that are much less computationally intensive are sufficient.

    The required accuracy and resolution of a 3D scan for 3D printing is also determined by the object to be scanned. Are sharp edges to be realized? Do certain tolerance ranges need to be met?(Read blog: what tolerances are possible in 3D printing) Or how large or small is the object. All parameters flow directly into the selection of the required accuracy and resolution.

    3D Druck - Rohrverbindung - Material Kunststoff RR60 crystal-clear

    Theoretically, all objects can be scanned, from a few millimeters to larger objects up to several meters. Difficulties can arise especially with transparent objects or those with high-gloss surfaces. Here, data gaps or errors in the point clouds can occur during the 3D scan. Specially developed matting sprays are used to circumvent these sources of error. The contrast agents are sprayed onto the object in a thin layer. After the scan, the layer can be removed again without leaving any residue.

    Image: transparent components must be prepared for the scan.

    What steps are required to turn an object into a 3D printed model?

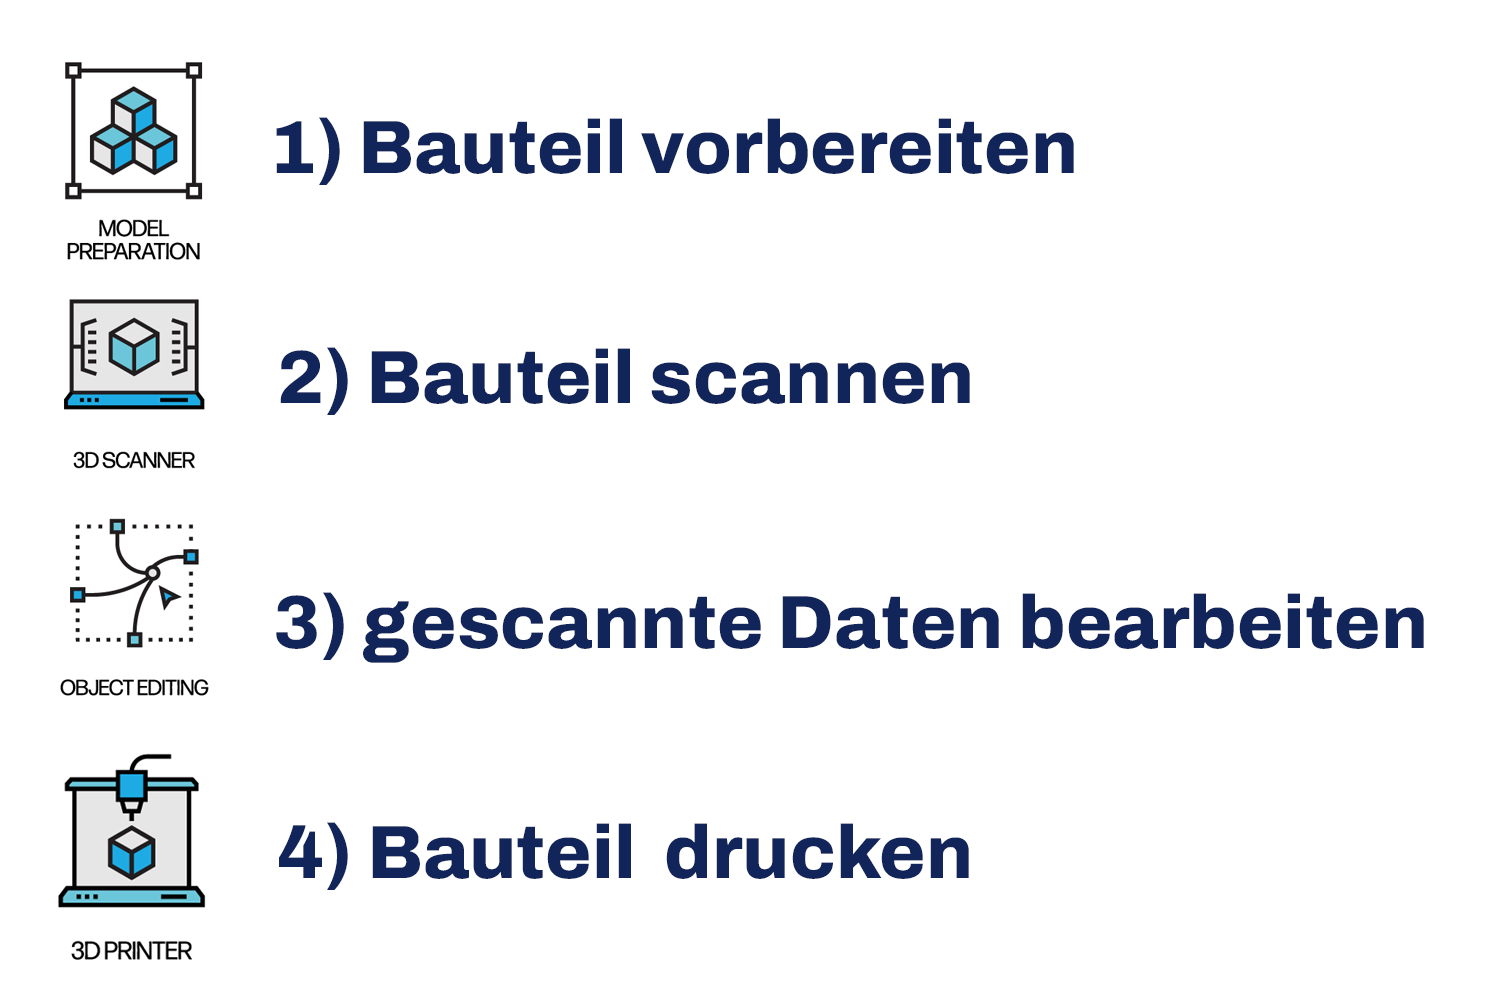
    3D-Scannen in vier Schritten

    The effort involved in 3D scanning for 3D printing is highly dependent on the object to be scanned, its geometry and the requirements for the print file.

    Basically, 4 steps are necessary until the finished component:

    • Prepare component: before scan
    • Scan component
    • Process 3D data: after the scan
    • Print component 3d

    1) Before the 3D scan: Determine key data and prepare the component

    Before a component is scanned...

    • the intended use of the finished part must be precisely defined. This determines the accuracy and resolution of the 3D scan.
    • it must be determined whether surface textures are to be worked out or color textures are desired.
    • it should be noted that physically damaged objects are also "damaged" in the print file after the scan. In these cases, the resulting 3D file must be reworked manually, which may be time-consuming.
    • the physical part must be sent in for scanning. This extends the delivery time of the 3D printed part.

    2) 3D scanning of the component

    3D-Scan für 3D-Druck eines Bauteils

    The actual scanning for 3D printing is comparatively quick and actually the mostly "easiest" part of the entire process. Simple is deliberately put in quotation marks here, because details such as the current lighting conditions flow into the work, especially in professional 3D scanning. Working with high-quality 3D scanners and the software behind them requires experience and expertise.

    3) After scanning: Data processing to 3D print file

    After the part has been scanned, the data must be processed to obtain a 3D printable file.

    After the scan is...

    • special software is used to create completely closed surfaces from the resulting point clouds. Depending on the geometry, for example in the case of indentations, complex post-processing is unavoidable.
    • the data from perfect master models can be transferred immediately to additive manufacturing.
    • damaged or non-ideal data must be reworked. This is always the case if the master model is already damaged or cannot be scanned in perfect quality due to the geometry.

    Step 4) 3D print component

    3D-Druck Bauteil Betriebsmittel wird gedruckt

    Once the 3D print file is corrected and optimized, the part can be additively manufactured.

    An overview of the materials and technologies available at Jellypipe can be found with the following links:

    Are handheld scanners and free software a recommendable alternative to professional 3D scanning?

    Using simple handheld scanners or even your own smartphone to create 3D print files and then post-processing the generated data sets in free software sounds tempting at first - and is actually worth considering, especially for private use. The available devices come in different qualities. The quality of the available software solutions also varies, sometimes considerably. Here, it can be said that the performance of the software is directly dependent on the price. The more expensive the software, the easier it is to reliably generate printable data sets. As a rule, several tools have to be combined to achieve a reasonably usable result. These solutions are not suitable for professional use - and would be anything but economical, depending on the project.

    Reverse engineering or a 3D scan for 3D printing?

    Symbolbild Reverse Engineering

    In order to transfer existing physical objects into print data for additive manufacturing, it is not always necessary to resort to 3D scanning, which is very precise but also time-consuming and cost-intensive. Reverse engineering is often worthwhile, especially for simple components.(Read blog: Reverse engineering for a rubber seal)

    In reverse engineering, existing dimensions are taken using a caliper gauge and used in a CAD program for 3D modeling. Many additive manufacturing requirements can be implemented quickly, easily and inexpensively in this way. However, reverse engineering reaches its limits with free-form parts of all kinds. Whenever no detailed dimensions are taken from the master model, the 3D scan has an advantage.

    Some examples: 3D Scan vs. Reverse Engineering

    3D gedrucktes Gehäuse Visualisierung

    Housing: Reverse Engineering

    This housing can be reverse engineered into a printable file with a little effort. Housing covers are often much easier to create using tracing. A scan would be much more time consuming and therefore more expensive.

    Complex components: Scanning

    These two components from the automotive and mechanical engineering sectors would have to be scanned due to the complexity of the geometry:

    Metall 3D Druck Fahrzeug-Bauteil
    DLP (LSPC) additive manufactured air inlet
    Original Oldtimer Gummidichtung

    Defective components: patch and scan or reverse engineer.

    This component is defective, and scanning it like this makes no sense. The defective area would then have to be painstakingly reconstructed in the scanned data for 3D printing. Therefore, reverse engineering was used in this case.(Read blog: Reverse engineering for a rubber seal)

    Depending on the type of damage to a component, it may also be patched and then scanned. Which method is more suitable depends on the project.

    Conclusion: Whether a 3D scan is worthwhile, or reverse engineering, is highly dependent on the component.

    Transferring physical objects from the real world into a 3D-printed model: 3D scanners enable numerous applications for additive manufacturing. Using different technical approaches, the objects are measured, transferred into point clouds and then converted into 3D printed data by special software. However, the process is time-consuming and labor-intensive, so the method is not always economical. For simple components in particular, reverse engineering is recommended as an alternative, in which the dimensions of the master model are taken using calipers and then transferred to a model in CAD software.

    We would be happy to find out for you whether a scan or reverse engineering is more suitable for your individual component. For this purpose, please send us an "individual inquiry" on one of the stores, attach a photo of your component and inform us about the later field of application. In addition, please include all important information, such as tolerance values, etc. We will be happy to advise you in order to find the optimal solution for your project.

    We are already looking forward to your inquiry!

    Your Jellypipe Team

    You can find more exciting topics about 3D printing here:

    Autor

    Markus Grimm
    Chief Virtual Printfactory

    Newsletter subscription

    Stay up to date with our newsletter.